 +1 (786) 613-5872
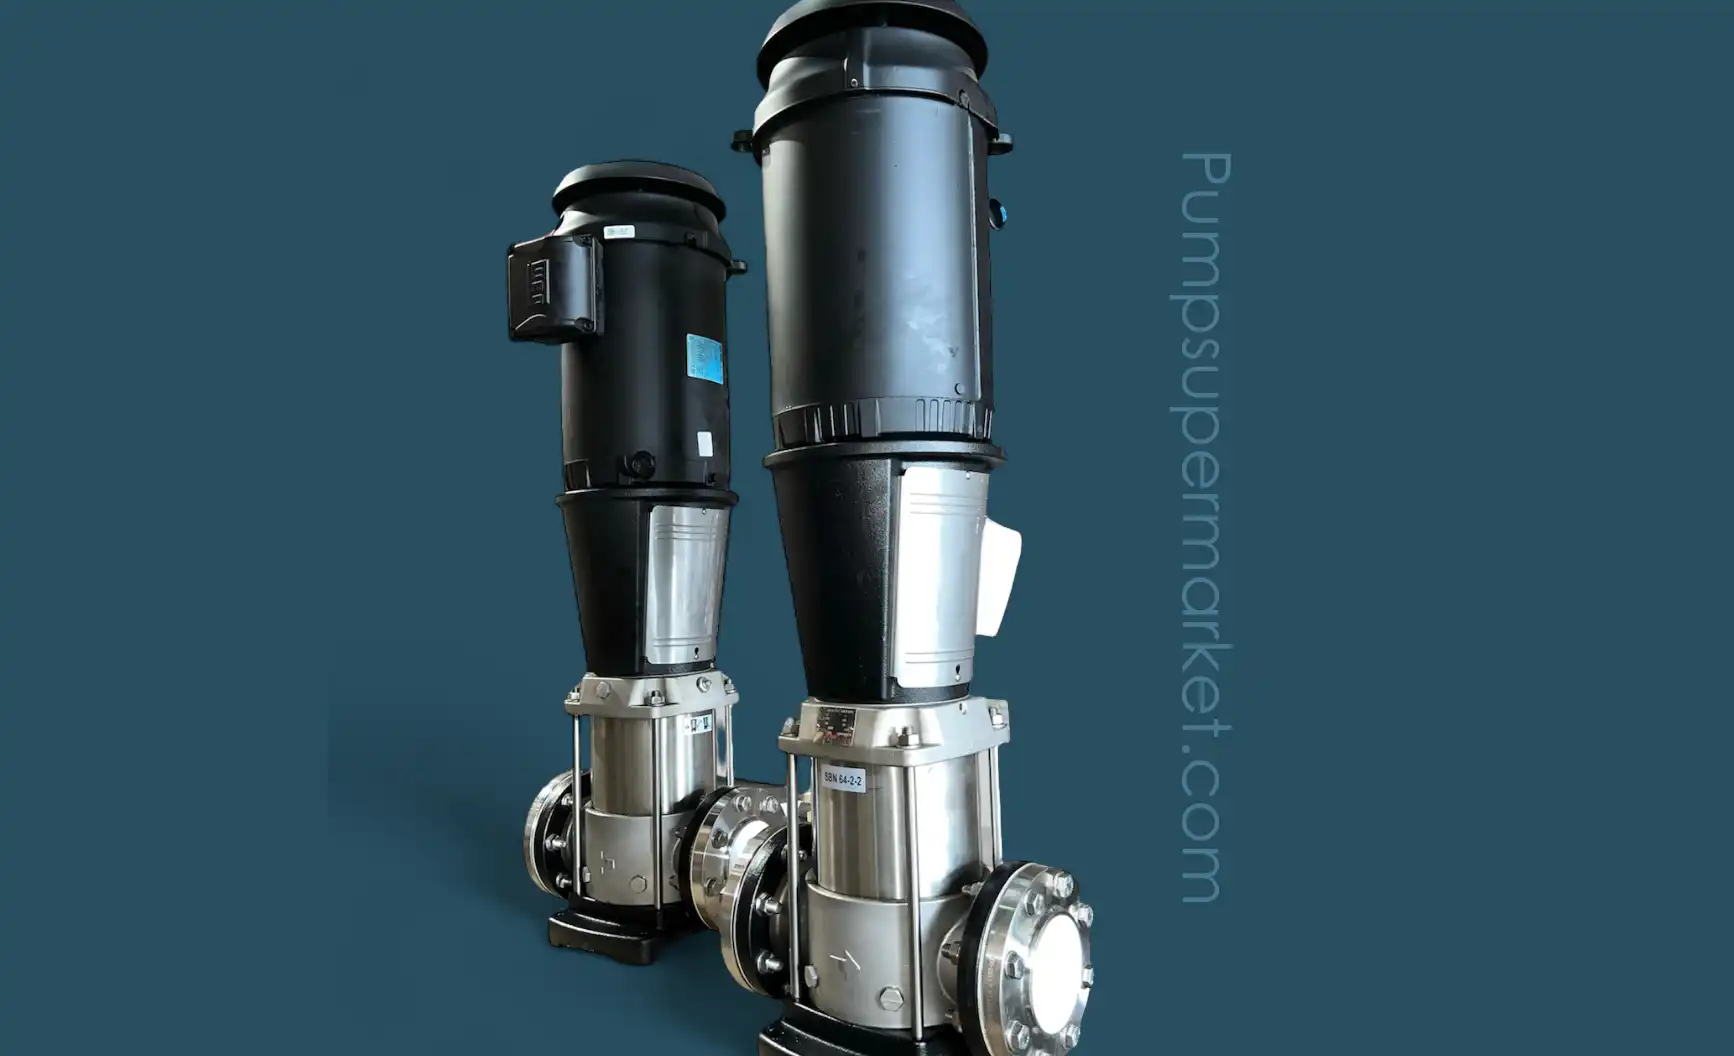
Vertical Multistage Pumps
Vertical Multistage Pumps Shop vertical multistage pumps for pressure boosting, HVAC systems, water supply, irrigation, reverse osmosis, boiler feed, and


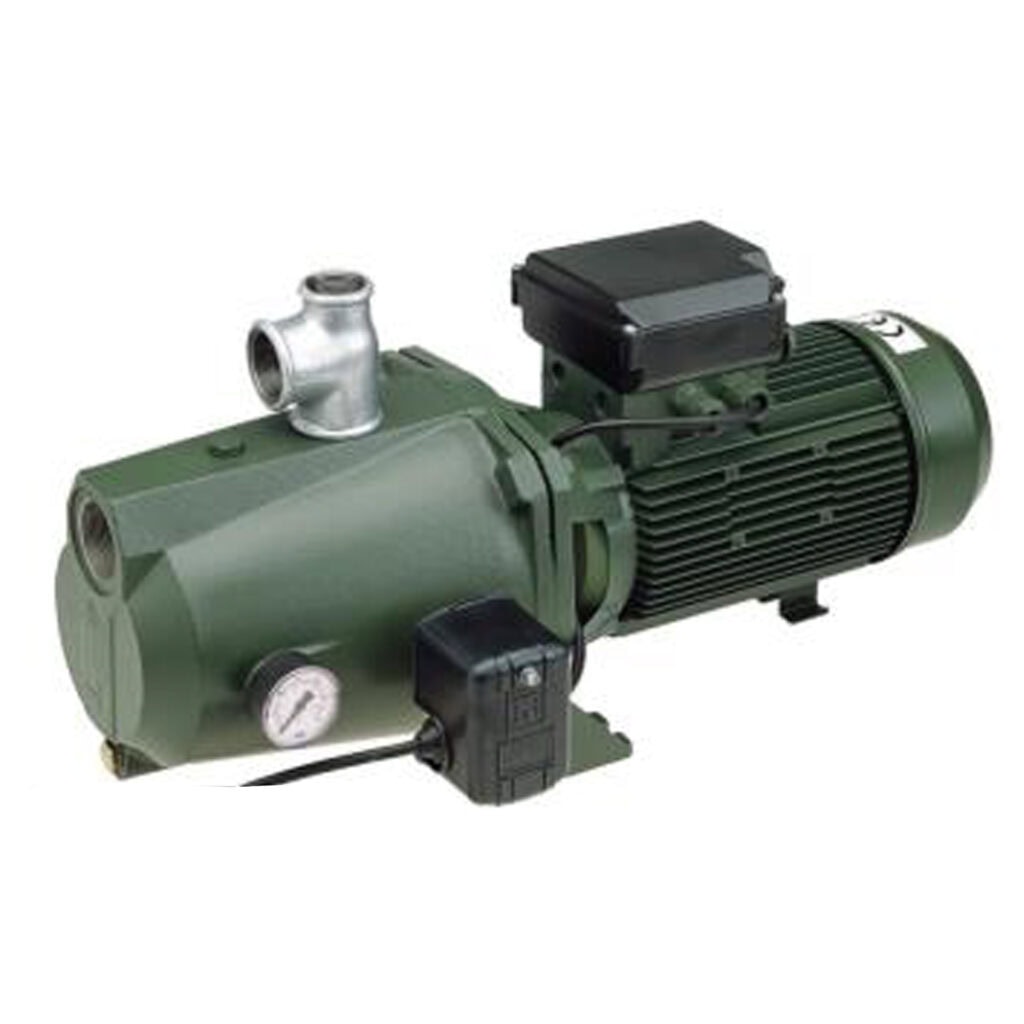
Vertical Multistage Pumps Shop vertical multistage pumps for pressure boosting, HVAC systems, water supply, irrigation, reverse osmosis, boiler feed, and
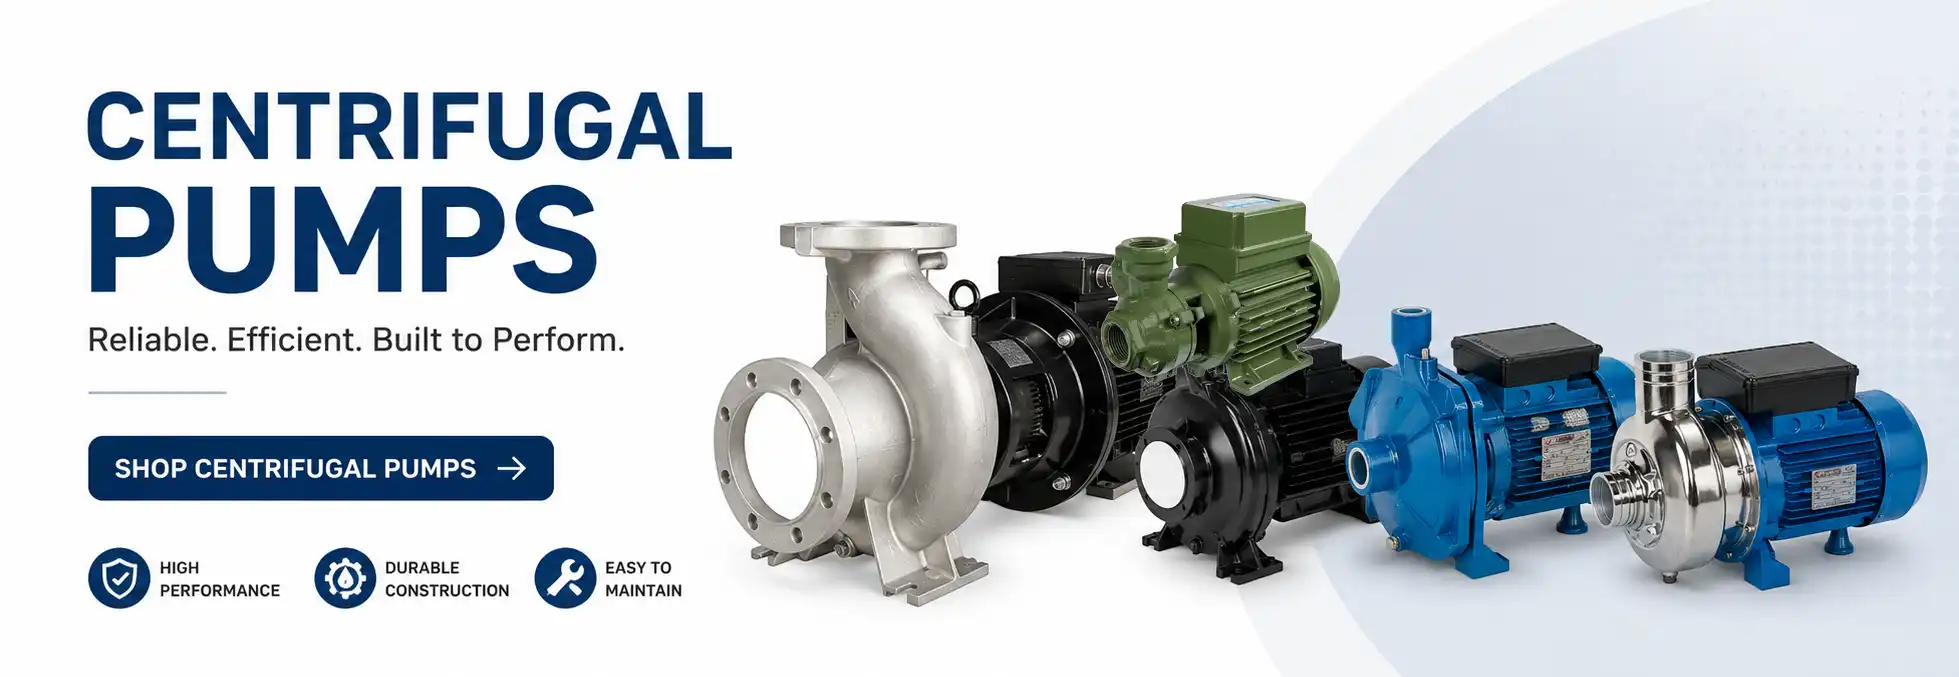
All Types of Centrifugal Pumps by Pump Supermarket – Free shipping to all parts of the United States

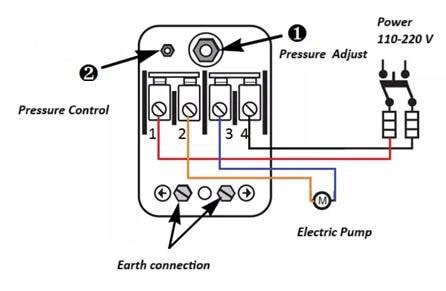
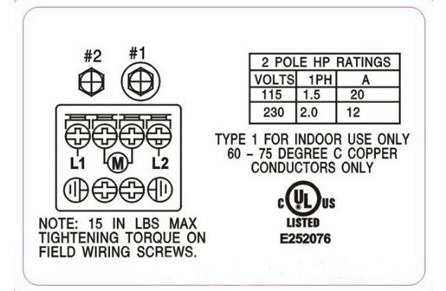
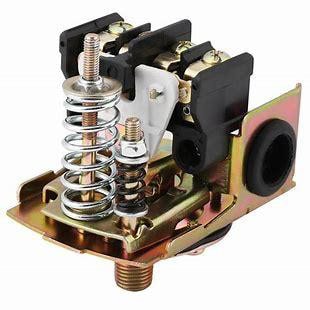
Learn how to properly splice a 4-wire submersible pump cable using a waterproof heat shrink splice kit. Step-by-step instructions and safety tips.

Vertical Inline HVAC Pumps: Reliable Circulation for Commercial and Residential Applications, If you’re designing, maintaining, or upgrading an HVAC system, a vertical inline pump is one of the most efficient and space-saving solutions available. With free shipping across the United States and unmatched customer service, Pump Supermarket is your go-to source for circulation and HVAC pumps.
 Easy Selector