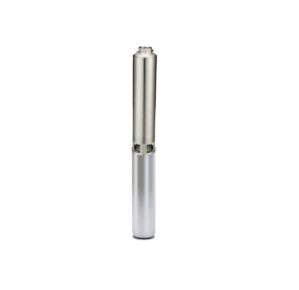

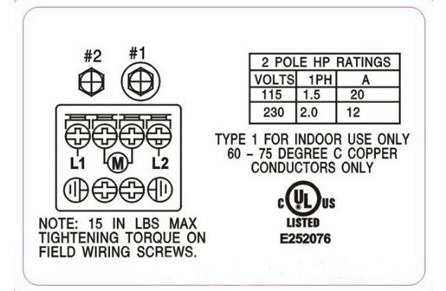
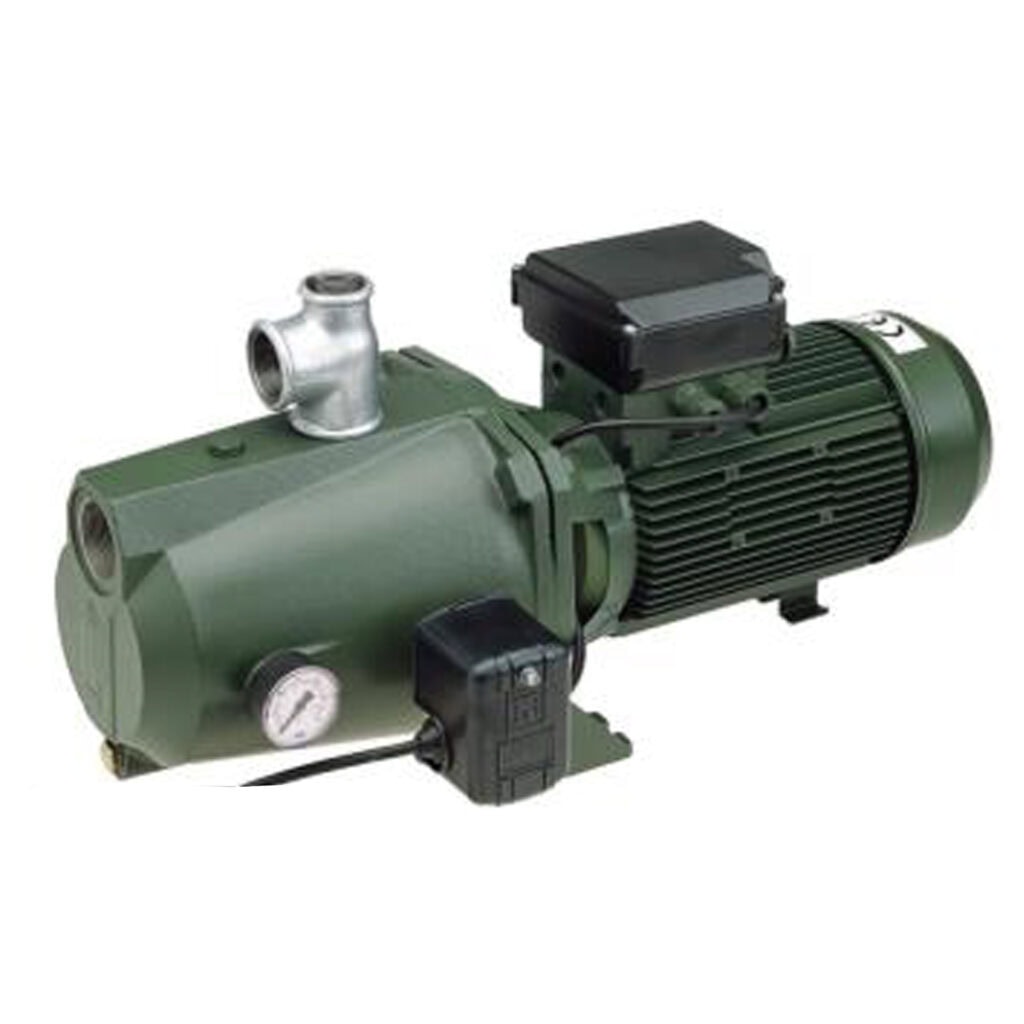

Vertical Inline HVAC Pumps
Vertical Inline HVAC Pumps: Reliable Circulation for Commercial and Residential Applications, If you’re designing, maintaining, or upgrading an HVAC system, a vertical inline pump is one of the most efficient and space-saving solutions available. With free shipping across the United States and unmatched customer service, Pump Supermarket is your go-to source for circulation and HVAC pumps.